The potager, kitchen/vegetable garden, was the second area of my garden I began making in the spring of 2009. Our lot is an L-shape with a view straight back from the kitchen window, then branching off to the left behind our garage/work shop.

The view (above) from the kitchen window straight back to our property line in early spring of 2008.

The view (above) behind our garage / workshop also in spring of 2008. This is the spot I chose for the potager. Although not ideal – close to the kitchen – this is the best spot in the yard for growing vegetables. It receives the most sun. The plan was to build compost bins in the far back corner from lattice that was left by the previous owners when we moved in.

The compost bins in summer of 2008. We (meaning myself and my favorite brute force aka husband), simply made three open bins. I use the center for mixing, and the two on the ends to store green and brown material. Although above it is filled with sod from the making of the bird & butterfly garden. In the opposite corner my husband built me a shed – true romance. Since we use our garage for work I needed storage for my garden tools, and for the necessary evil lawnmower (until I get rid of the lawn, heh heh). The plan is for the potager to be sandwiched between the shed and compost.

The view from the kitchen window in the fall of 2008 with the shed completed (above).

In the spring of 2009 we made three simple raised bed frames (above). I want to eventually construct these from stone so they are not built to last forever. I used the sod from the previous year as a base to fill them in, then topped with purchased potting, top soils and compost. I added a couple of flat beds to the left of the raised. I also made a thin bed along the back edge of the property line that backs up with the neighbors bed. She has lilies planted on the other side so I added a couple on my side. Existing wild grape vines grow up and along the fence. (Click here to read my post on wild grapes in my garden.)

The potager towards harvest time in the summer of 2009 (above). We harvested quite a few tomatoes in spite of a bad year, some beans, lettuce and cabbage. In the fall I planted some garlic for the first time. I had not been a vegetable gardener until now, in spite of growing up with a large vegetable garden in WI as a little girl.

In the spring of 2010 we lopped off a large box elder that was leaning precariously over the back of our house. I kept the wood chips and added paths to the potager, expanding the bed along the back fence as well as adding more flat beds. (Click here to read my post on how I created these paths.) The bed along the back fence now includes two dwarf alberta spruce for winter interest as well as a mix of herbs and flowers that are pollinator-friendly. I did add an edible green grape vine along the fence but I'm sure it will take several more years to become established. I figure I will be able to distinguish green grapes from the wild grapes.

Spring 2010 expansion (above). My husband built the trellis attached to the bed the previous season, and I tried to make some tee-pees but have since disassembled these. Also added, a tomato cage built from old tiki torches that my brother-in-law gave me (below).

The goal is to add some structure to the potager and let it withstand the winter.

The potager in summer of 2010 (above) looking down the pathways toward the compost and toward the shed, and viewed from around the corner of the garage / workshop. I am amazed at the amount of insect and bird activity in this section of my garden from butterflies, moths, spiders, bees to beetles and assassin bugs! One afternoon during a sprinkling I watched a hummingbird fly through the water spray repeatedly and perch on one of the tee-pees. Chickadees hid sunflower seeds among my brussel sprouts.

We are really beginning to harvest a lot of food now: radishes, garlic, tomatoes, swiss chard, beets. Each year I plan to add more variety and try new things. Also, we will begin canning and preserving more of our food.

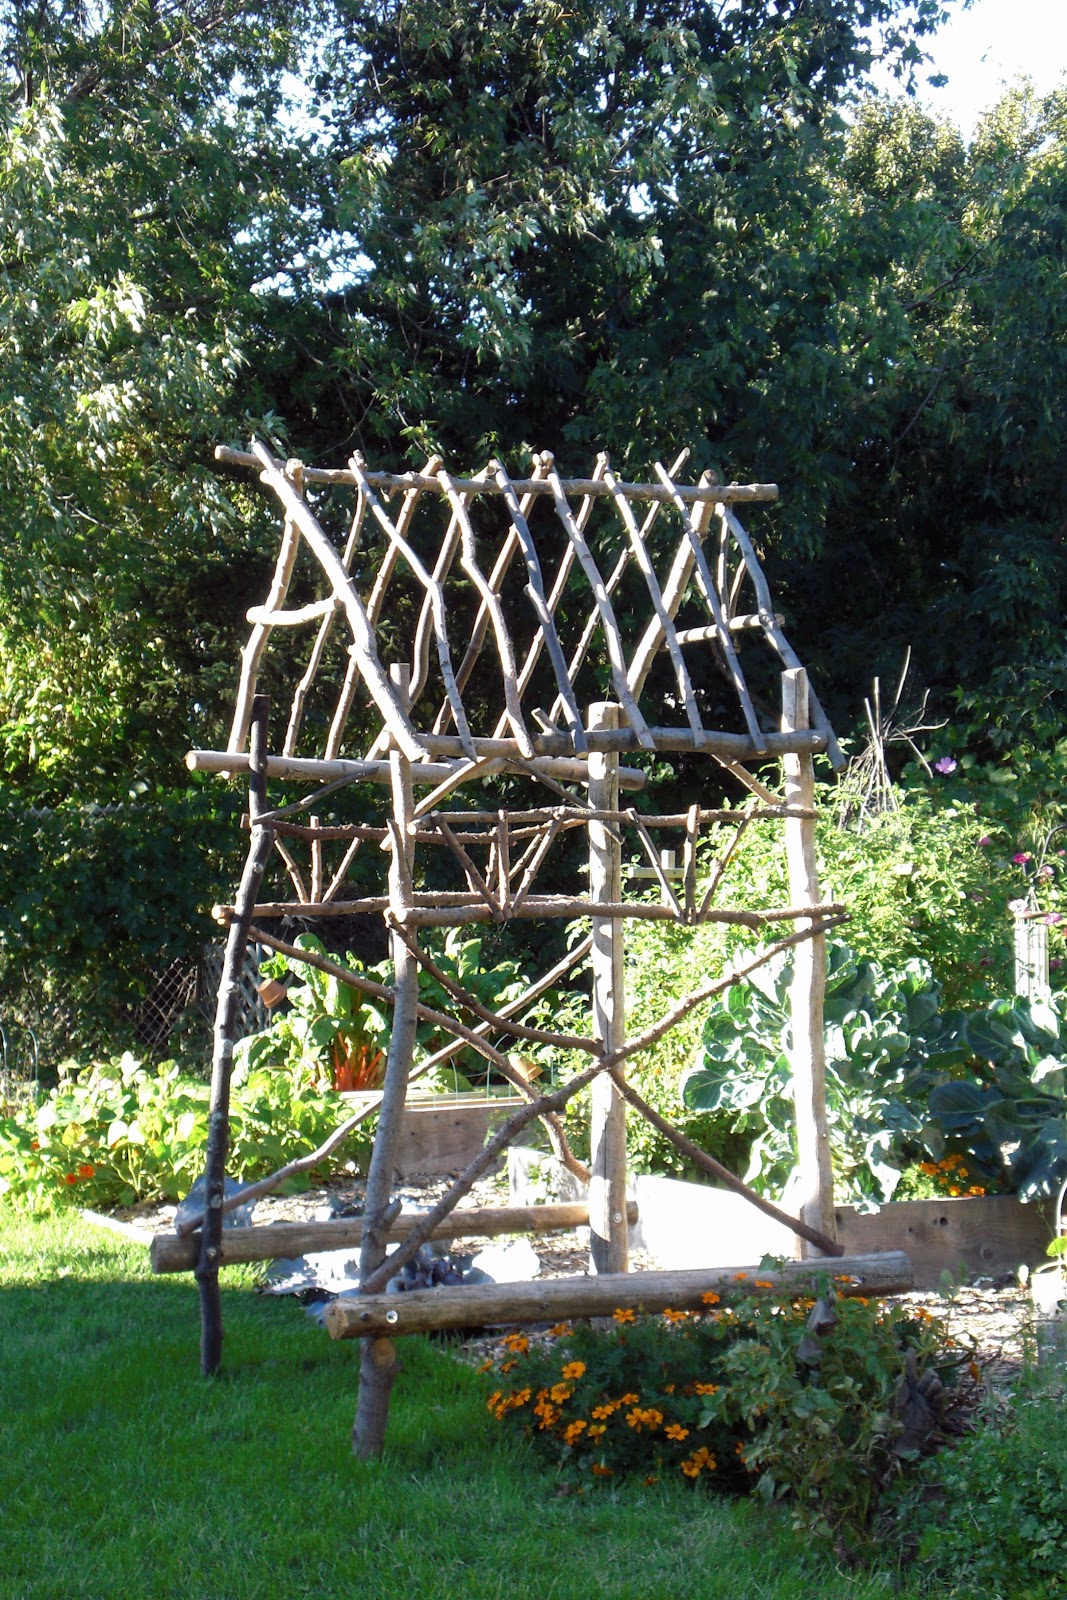
The last thing I made (with my husband's help) by fall of 2010 was this rustic arbor entryway to the potager. This summer I hope it will be draped in scarlet runner beans! Tasty as well as attractive – especially to humming birds. (Click here to see how this arbor was built in my previous post.) This adds some permanence to the potager which my newer garden needs.

The potager in late summer / fall 2010, winter 2011. I hope to keep this post updated as my garden continues to grow. Thank you for joining me in my garden in the making.